You have got your SMMA client. Now, what?? Having trouble figuring it out?? Let me help you with it. Today I am going to give you a step by step guide to
1.Set up business manager
2.Create a Facebook ad account
3. Connect Payment methods for your clients.
If you want you can watch this video below and see how I created a new Facebook account to show you how to do all this. There are bonus tips and tricks also.
If you are with me then let’s begin.
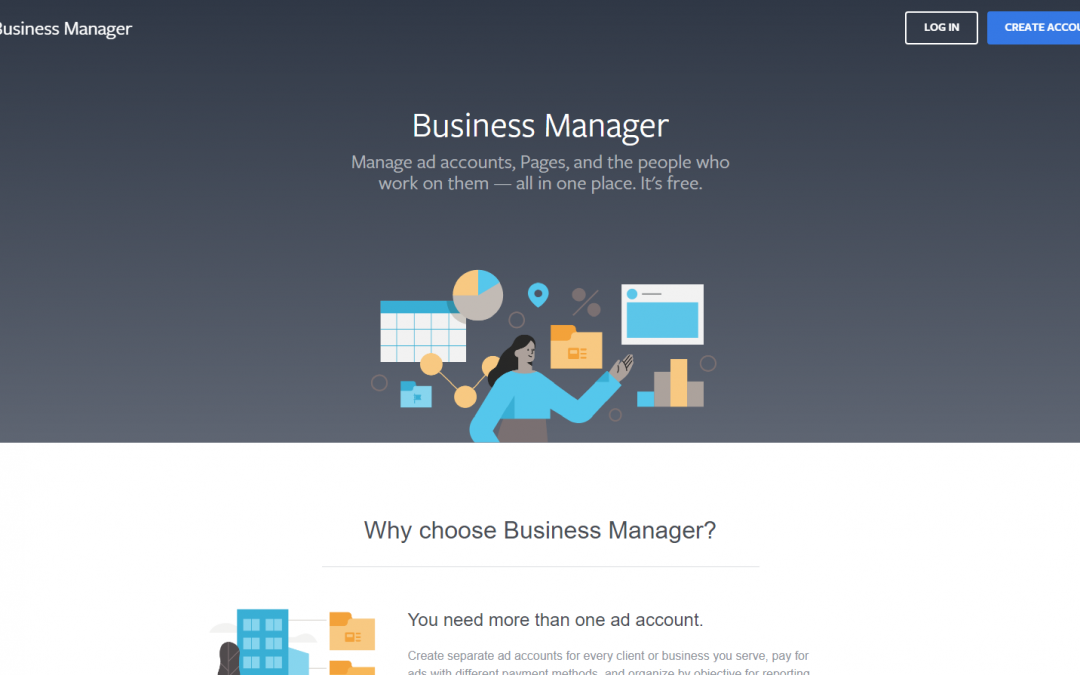
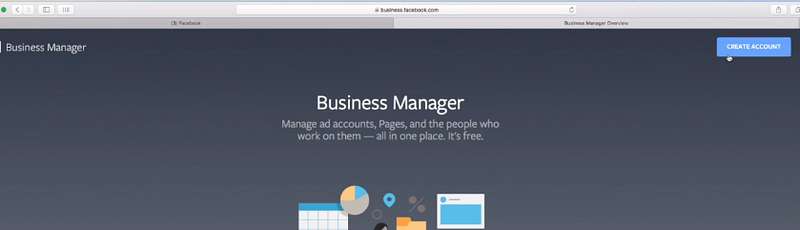
1st go to Facebook business manager www.business.facebook.com and create an account. Click on the top right corner to create an account.
When you click on it you will be greeted with a pop up like the picture below. (And for email, if you don’t have a business email you can use your Gmail or any email account that you have access to.)
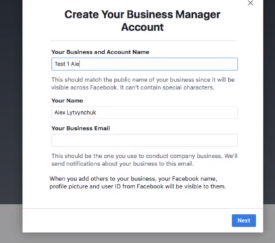
Fill the requirements and click next. When you will click next another popup will appear like the one below.
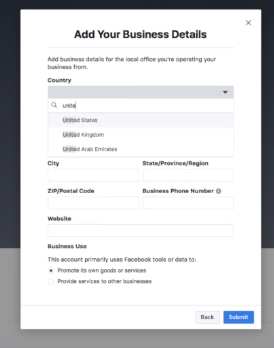
Provide the pieces of information and click “Submit”.And it’s going to take you to the page that looks just like the one below

This it’s gonna be your business manager.
For 2nd step, you need to add your client’s page to your business manager but before doing that you need to go and add yourself as an admin on your client business page.
To do this you need to go to your clients “Business Page “ and once you are there go to the settings and then here click on page roles
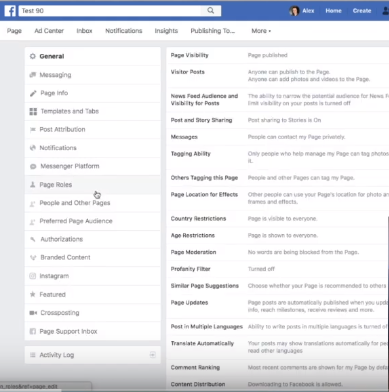
and then here you need to type an email or your name that you’re gonna use for a Facebook.
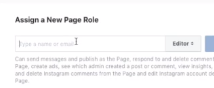
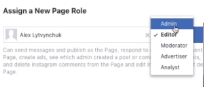
So we’re gonna add permissions as an admin and then click on add.
When you add yourself as admin your account will get a notification that you invited to become an admin.
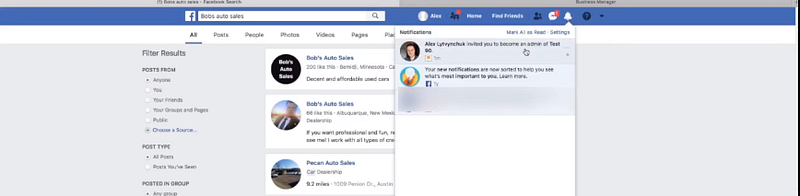
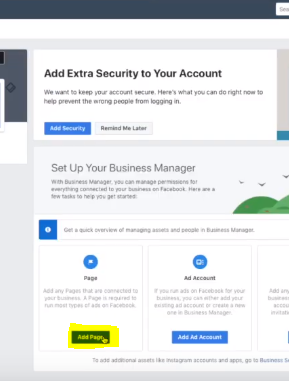
Click accept and after this, you will be able now to go to a business manager and add the page to your business manager. So after that, you click on add page
And then click on the requested access
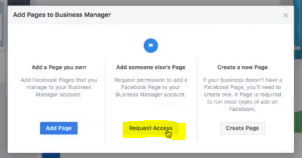
And the next step we have two options add a page and create a new page. You’re going to click on add page
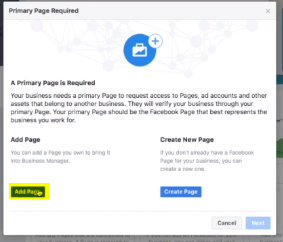
so here you’re gonna choose your clients page
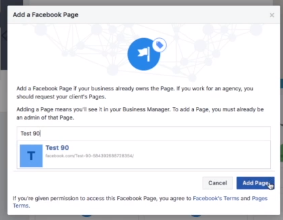
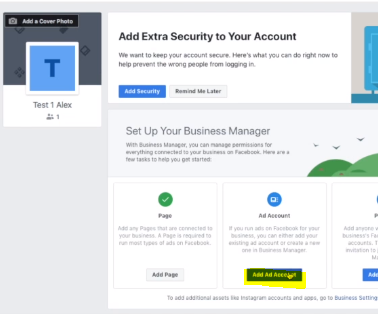
After we did that as we see we have your business page showed up on the bottom of the page. So next up we need to add “Ad Account” of your clients to your page so you’re gonna click on Add Account
and then you’re gonna go the section of “Add someone else ad account” so you click on “Request access”
and then here you would type your ad account ID of your client.
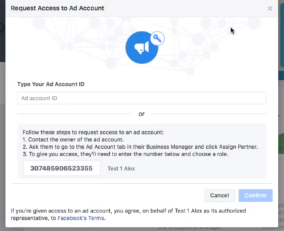
To know how to get your client’s account Id watch the video.
https://www.youtube.com/watch?v=Rc5SoyjdkKU&t=515s
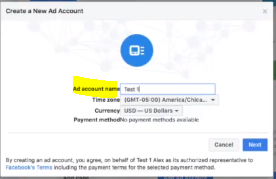
After this, your client needs to confirm and after then we have permission to add your account to your business manager. so in our case, we just can create a new ad account.

Then you have to name it and that account will be used for your business. then click “Next”
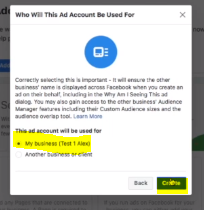
After this select “My business” and choose “Create”. So now we create an edit column.
This is how you set up a “Business Manager” and connect the “Business Page” of your client to “Business Manager” and request an Ad Account to your clients from here

No to add payment method go to Your business manager page and on the top right corner, you will find a settings icon. Click on it.

Next, you’re gonna click on Ad accounts from the left side of the page and go to view payment methods.
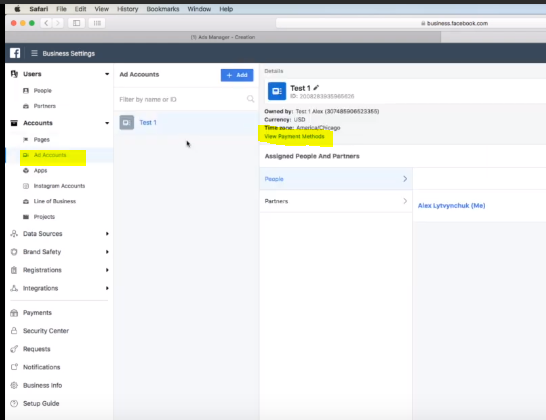
After you’re gonna click on that it’s gonna take you to the page that looks just like this. And you would need to set up a payment method for your client. Add his account or add your own payment method.
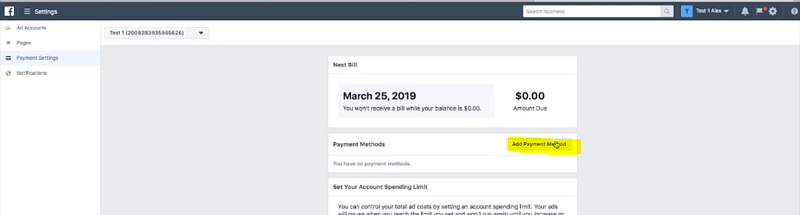
Here is a million dollar tip if you close your client make sure to take the advertised budget on yourself meaning that on “Add Payment Method” you’ll put your own credit card. So create a Credit Card for your business so that you can use that credit card to run ads for your client and he’ll pay you the ad budget. And here’s why it’s so important because you can make extra $100–200 dollars back by utilizing your own credit card because it gives you Membership Rewards, Points and using them you can travel for free.
If you need my full course on how to grow your agency or getting all the marketing strategy to seal big deals click on this link to get more details.